
I am planning on attending an Appleseed Pistol Clinic later this year.
Building on the foundation of the rifle clinics, the Appleseed Pistol Clinic is a fast-paced, high-standard course designed to turn a “handgun owner” into a true marksman. While most people associate pistols with close-quarters “point shooting,” Appleseed treats the pistol as a precision tool, demanding accuracy out to 25 yards.
The clinic focuses on the PQT, and here is how it breaks down:
The Core Fundamentals
The instruction remains rooted in the same “Six Steps” you know from the rifle line, but adapted for the unique challenges of a handgun:
- The Grip: Establishing a rock-solid, repeatable “master grip” to manage recoil.
- Sight Alignment/Picture: Mastering the shorter sight radius of a pistol, where a tiny error at the muzzle creates a massive miss at the target.
- Trigger Control: Learning to press the trigger straight back without “milking” the grip or flinching.
The PQT Stages
🎯 Stage 1 — Controlled Cadence
- 10 rounds
- 15 seconds
- Magazines: 10
- One target
- Purpose: Baseline speed/accuracy under time.
🎯 Stage 2 — Target Transitions
- 10 rounds
- 15 seconds
- Magazines: 6 + 4
- Two targets
- Mandatory transition every 2 shots
- Expected hits: 6 on left, 4 on right
- Purpose: Visual processing + recoil control + transitions.
🎯 Stage 3 — One‑Handed Shooting
Two parts, each 15 seconds:
Part 1 – 5 rounds, left‑hand only
Part 2 – 5 rounds, right‑hand only
Purpose: Demonstrates true fundamentals—grip, trigger control, and stability.
🎯 Stage 4 — Precision at Pace
- 10 rounds
- 2 minutes
- Four small targets
- Expected hits: 2, 2, 3, 3
- No mag change required
- This stage is doubled in scoring value, just like Stage 4 of the rifle AQT.
📏 Scoring
- Max score: 250
- Patch qualification: 210
- Hit values: 5 to 3 points depending on ring; misses score 0.
🧭 What the Clinic Day Looks Like
Beyond the PQT itself, a typical Appleseed Pistol Clinic includes:
- Safety briefing and Appleseed protocol
- Shooting the pistol “Redcoat” target
- Detailed instruction on stance, grip, sight alignment, trigger control, follow‑through
- Dry‑fire and live‑fire drills
- Malfunction clearing and anti‑flinch drills
- One‑handed shooting practice
- Magazine change drills
- Target transitions
- Multiple PQT attempts across the weekend
If you want, I can also break this down into a practice plan, a drill progression, or a scoring strategy to help you hit that 210+ consistently.
Equipment Requirements
- The Handgun: While .22 LR pistols (like the Ruger Mark IV) are very common and cost-effective for learning, many students bring their centerfire carry guns.
- Magazines: You need at least two magazines. Several stages require a mandatory reload (the “2 and 8” or “5 and 5” drill).
- Holster: Not required.
- Ammunition: Expect to fire 250–400 rounds over a weekend.
The “Rifleman” Standard
To earn the coveted Pistoleer patch, you must score a 210 or higher. It is notoriously difficult because, unlike a rifle, you have no third point of contact (like a stock or a sling). It is just you, your grip, and your NPOA.
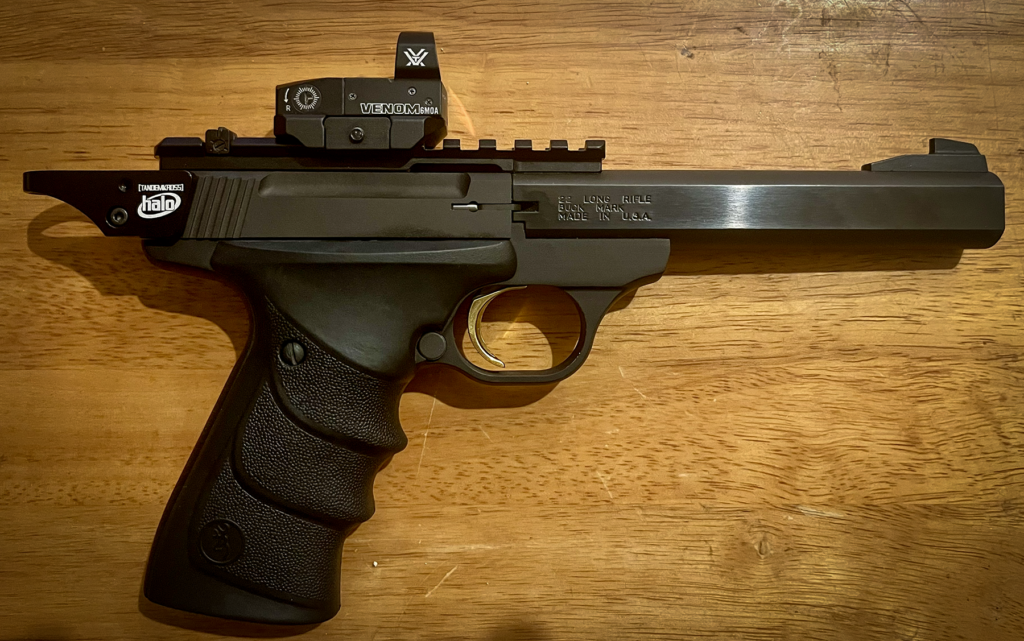
I am planning on taking my Springfield Target 1911 (9mm) and my Browning Buckmark.